DIY Wood Reindeer
- Dec 17, 2018
- 4 min read
Updated: Jun 11, 2019

If you’re husband is anything like mine, you never know what wild and crazy idea he’s going to get excited about next. It could be Forrest Fenn’s treasure, it could be finding the next great cheese recipe. This time, it was making our own wood reindeer decorations.
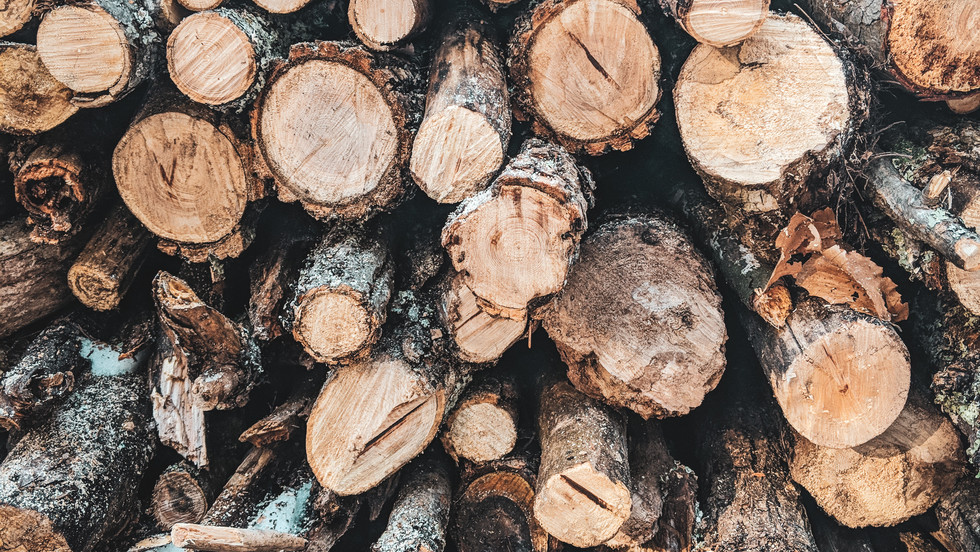
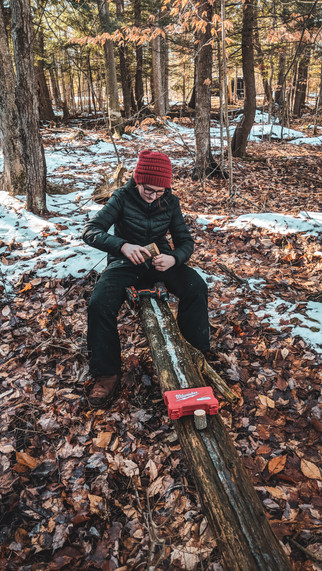
We recently set up our Christmas tree and had an extra pile of pine branches from trimming the bottom so it could fit in the stand. Rather then throwing the extra branches in the woods or wasting them in any way, Scott was excited about finding a project they’d be useful for.
So when Scott said to me, “Schteph, we’re going to be making reindeer.” I knew in fact, that, we were going to be making reindeer.

I’ll be the first to admit I get excited about his random ideas. When he's in to something, he's all in so I know it's usually going to be pretty great and a whole lot of fun. Plus, the only reason you’d know it is Christmas in our house is because of the tree in the corner and my stocking on a hook on the wall (thanks for sending mom!). Other than that, our Christmas decorations are lacking. Our Christmas spirit, however, is in full force. So I was excited about adding some decorations to our cabin home.
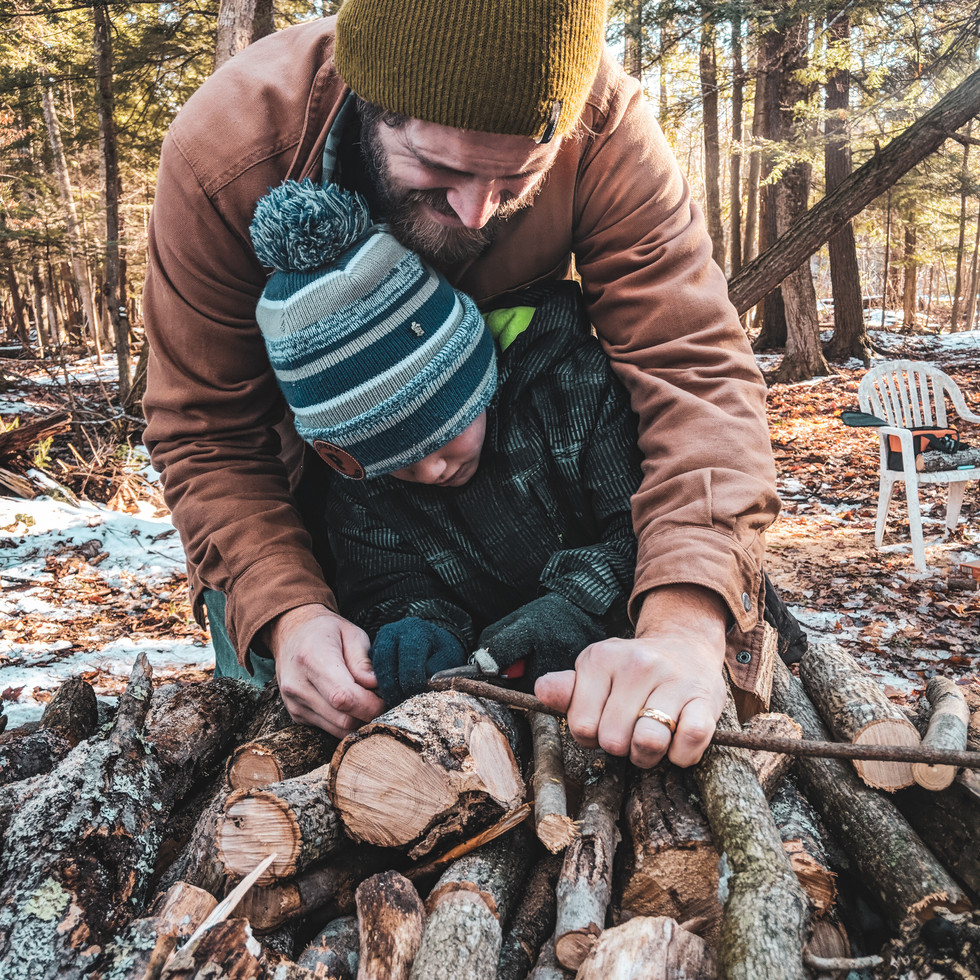
The best part of this project is we got to do it with the kids. Scott has 6 nieces and nephews he thinks the world of. He's always been crazy Uncle Scottie to them since the beginning of time. He can convince them to do almost anything. Things like dream really big and try new things.
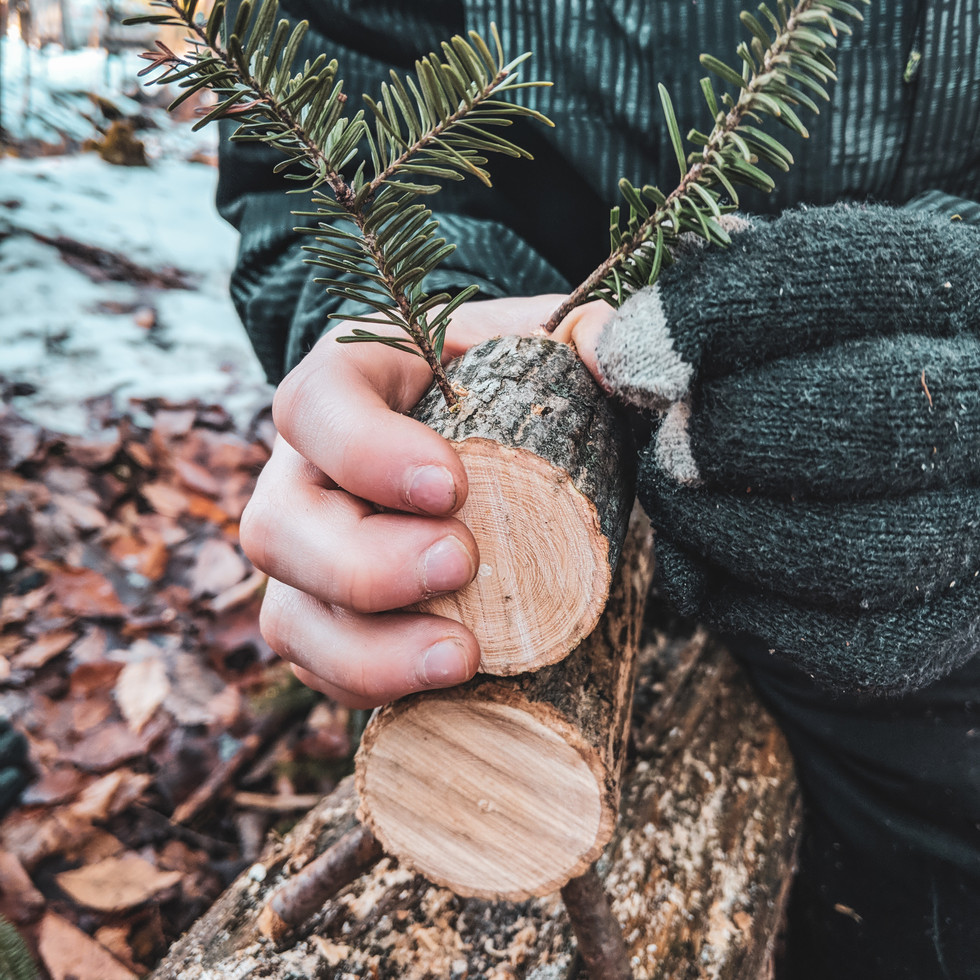
We had a sleepover with 4 of them and this was the big project Scott wanted to do while they were at our house. All of them, ages 7-15 were able to help in all or some ways. Even the youngest sawed his own reindeer (under Scott’s supervision of course).
Give this fun and super easy project DIY wood reindeer project a try. They make great Christmas decorations and even more, fun year-round decorations. They take no time at all and require just a few tools.


(Make your reindeer your own. Use larger or smaller sizes than I suggest to get they look you're going for. These are just to give you some idea of what I did.)
What You’ll Need:
Handsaw
Swiss Army Knife saw (optional)
Drill with various sized drill bits
Wood glue (optional)
Permanent marker (optional)
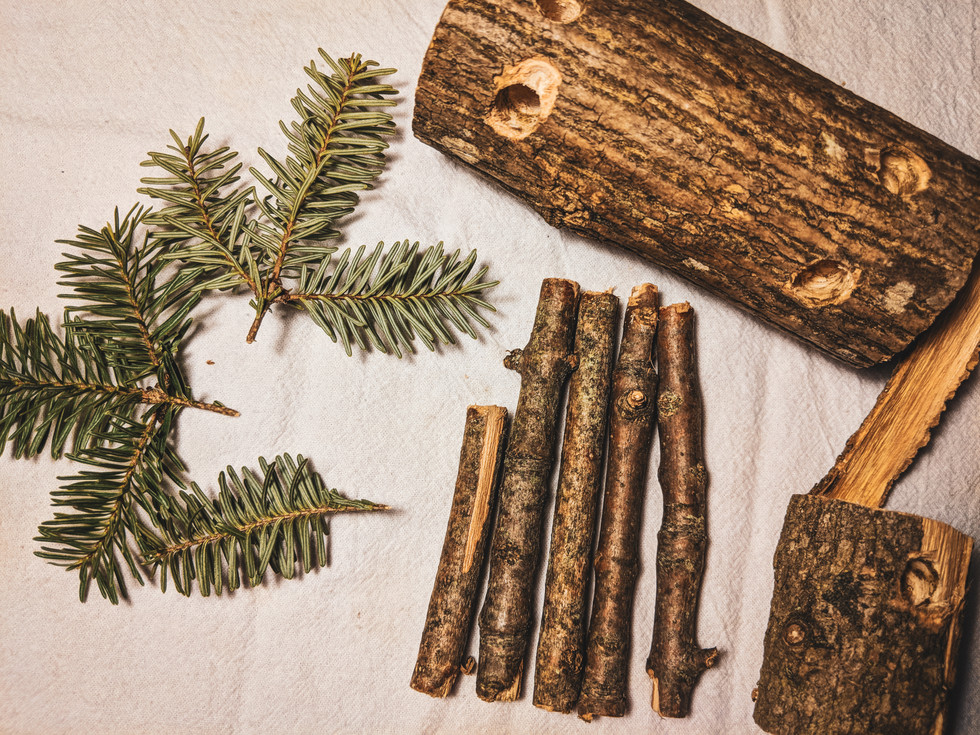
1 - 2 inch wide, 5 inch long piece of wood (body)
1 - 1 inch wide, 2 inch long piece of wood (head)
5 pieces from a small branch (4 legs, 1 neck)
3 small pine needle branches (antlers and tail)


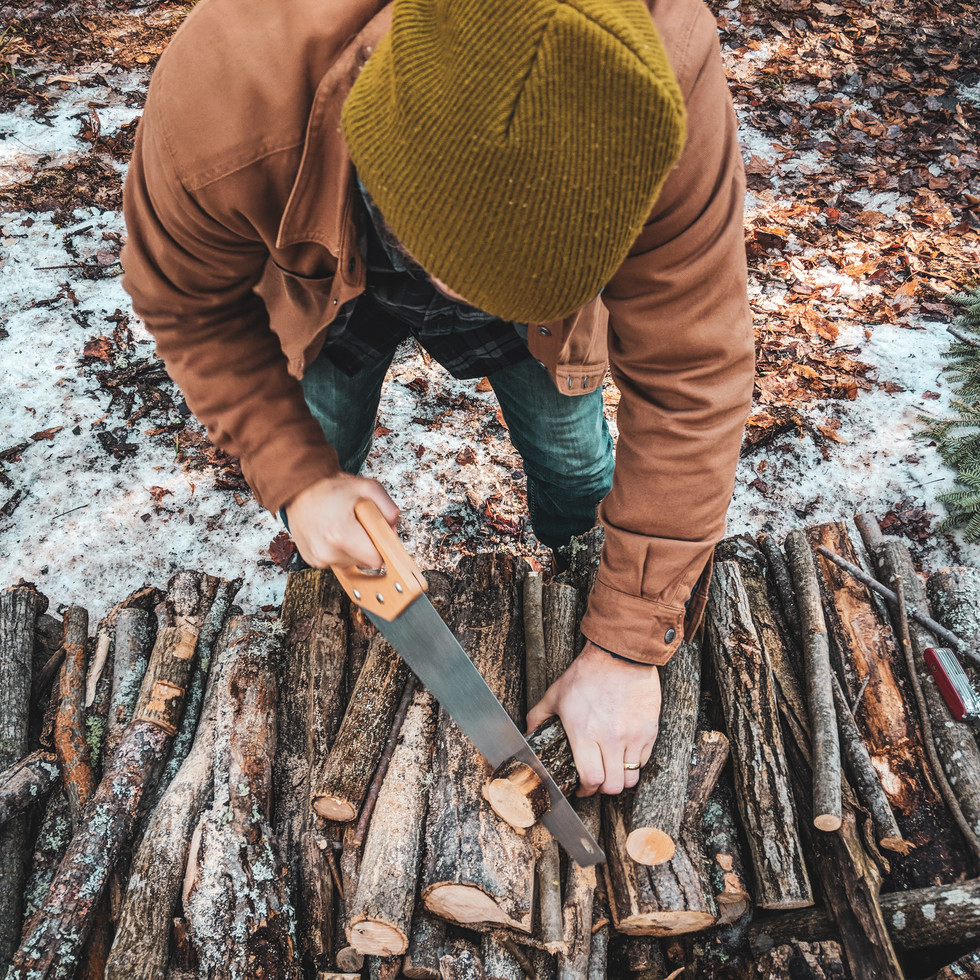
Use the saw to cut a 2 inch diameter piece of wood 5 inches long for the body.
Next, cut a 1 inch diameter piece of wood 2 inches long for the head.

Then, find a small branch and cut 4 legs about 4 inches long, each. (Some of use used the saw because they were so much smaller and others still used the handsaw for this.)
Using the same branch, cut a piece 2 inches long for the neck.

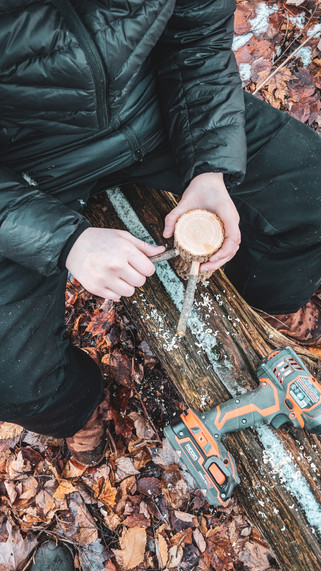


Take your drill and find a drill bit that is slightly larger than the branches you're using for your legs and neck.
On the body, drill 4 holes at an inward angle, about 1/2 - 1 inch deep, each for the legs.
On the other side of the body from where you drilled the legs, drill your neck 1/2 -1 inch deep.
On the head, drill a hole 1/2 an inch deep that will connect the neck.

Assemble the 4 legs, neck, body, and head to this point. (Use glue here if you'd like)

Change your drill bit so it is slightly larger than the branches you will use for the antlers and tail.
Drill two holes at an angle on the top of the head for the antlers.
Drill another hole, using the same bit, on the backside of the body for the tail.

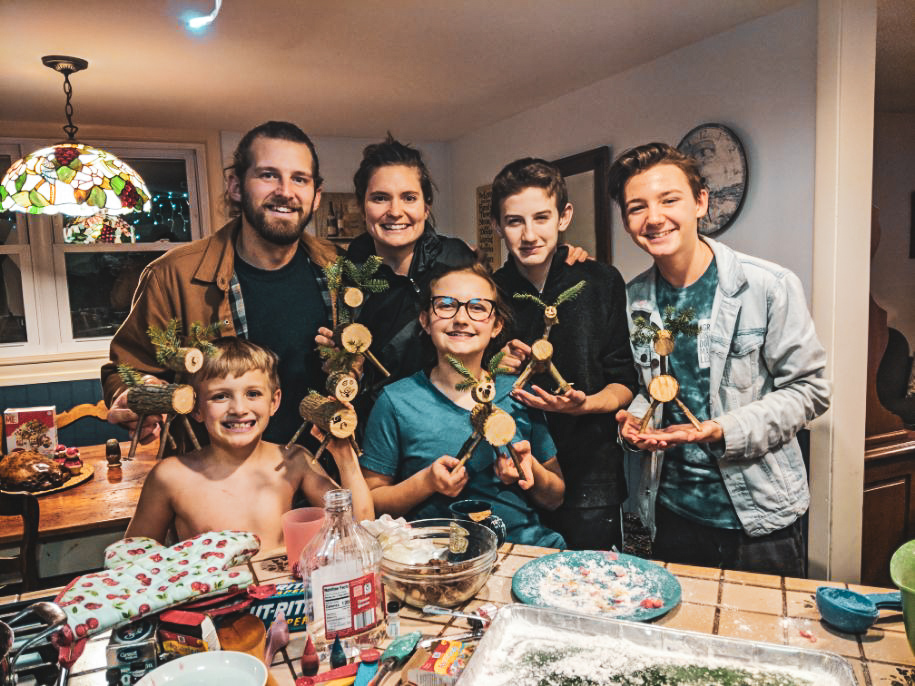
Assemble remaining antlers and tail and voilà! your super simple DIY reindeer.
Bonus: Some of us used markers to complete a face (and even abs...see the 7 year olds) on ours. Also, to get some of the branches to stay, some had to use the wood glue to make them stick. This also makes them more permanent. I chose not to so I could assemble/disassemble whenever I need to and rotate the antlers each year. Probably also because I have commitment issues.
What You’ll Need:
Handsaw
Swiss Army Knife saw (optional)
Drill with various sized drill bits
Wood glue (optional)
Permanent marker (optional)
1 - 2 inch wide, 5 inch long piece of wood (body)
1 - 1 inch wide, 2 inch long piece of wood (head)
5 pieces from a small branch (4 legs, 1 neck)
3 small pine needle branches (antlers and tail)
Use the saw to cut a 2 inch diameter piece of wood 5 inches long for the body.
Next, cut a 1 inch diameter piece of wood 2 inches long for the head.
Then, find a small branch and cut 4 legs about 4 inches long, each. (Some of use used the Swiss Army Knife saw because they were so much smaller and others still used the handsaw for this.)
Using the same branch, cut a piece 2 inches long for the neck.
Take your drill and find a drill bit that is slightly larger than the branches you're using for your legs and neck.
On the body, drill 4 holes at an inward angle, about 1/2 - 1 inch deep, each for the legs.
On the other side of the body from where you drilled the legs, drill your neck 1/2 -1 inch deep.
On the head, drill a hole 1/2 an inch deep that will connect the neck.
Assemble the 4 legs, neck, body, and head to this point. (Use glue here if you'd like)
Change your drill bit so it is slightly larger than the branches you will use for the antlers and tail.
Drill two holes at an angle on the top of the head for the antlers.
Drill another hole, using the same bit, on the backside of the body for the tail.
Assemble remaining antlers and tail and voilà! your super simple DIY reindeer.
PS: Here's the Swiss Army Knife we own and use almost every day. Seriously, we always have this on us and use it way more than we ever thought we would. We have the 33 features one and we seem to use it more the more we get familiar with it. It's a classic and totally underrated tool for someone you know. Or yourself!


Victoria! You're so right. I've always felt like my posts have to be really BIG or something extra crazy, but what I'm learning now is real is more important....and easier. When I can share my real life, more people can relate. It's fun to navigate the blogging world! Love what you're doing my friend. Happy writing!!!
These are TOO cute! I saw your post on Instagram about how you enjoy writing about everyday life. I can relate to that a lot because sometimes I think that my blog posts aren't "glamorous" enough. Like, I just wrote a post about Christmas lights (byvictoriamarie.com)...but enjoying your post has reminded me that the simple things in life are fun to read about too!